Skip to content
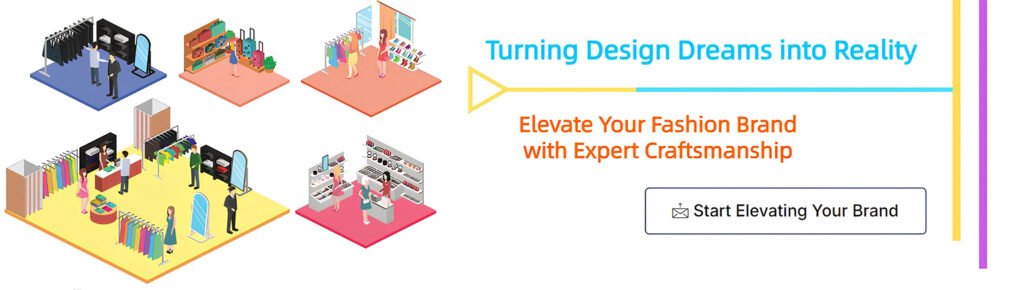
 Turning your fashion designs into actual garments requires more than creativity—it takes planning, partnerships, and process. One of the most important steps for any brand founder is learning how to get their designs manufactured.
To get your clothing designs manufactured, you need to prepare detailed tech packs, find a suitable manufacturer, develop samples, and move into bulk production with clear communication and quality control in place.
We’ve helped many emerging brands move from sketchbooks to retail-ready product lines. Here’s a complete roadmap.

Step 1: Finalize your design concept
Every great product starts with a clear idea.
Before production, refine your sketches, fit intent, construction, and target price point to ensure they’re ready for interpretation by a manufacturer.
Tasks in This Stage
- Hand or digital sketches of all views
- Fit reference samples or inspiration images
- Notes on target materials, trims, and finishes
- Clear understanding of end use and customer
Use this stage to also determine your style count and projected quantities.
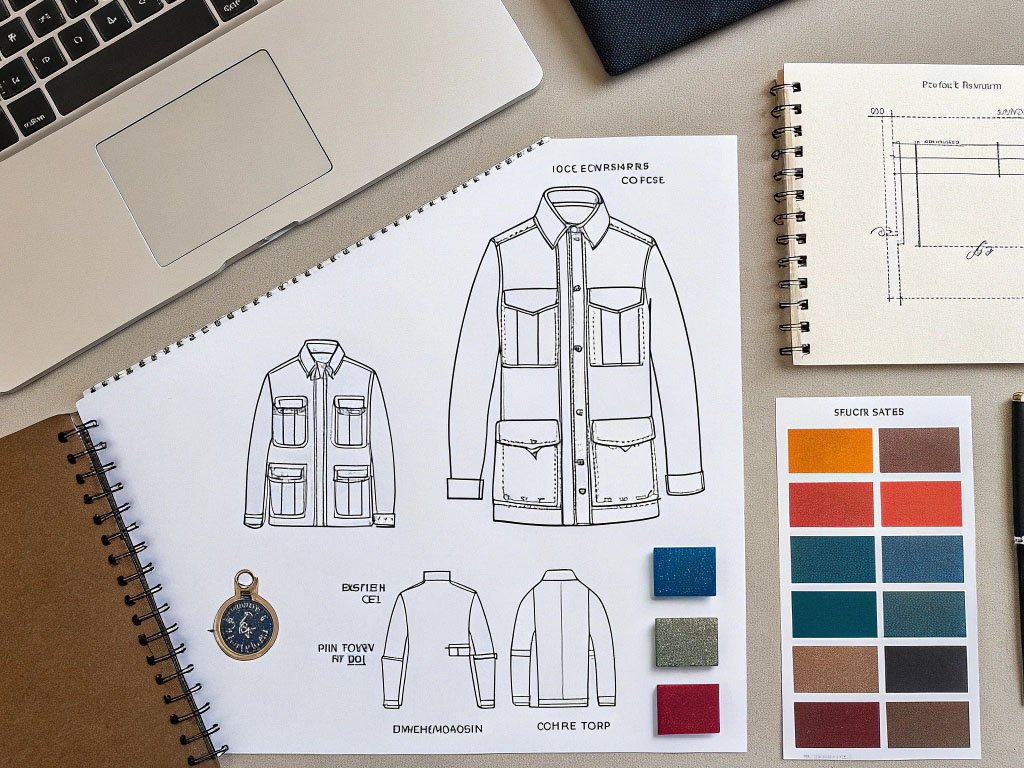
Step 2: Create a professional tech pack
Manufacturers work best with clarity and data.
A tech pack is a blueprint for your garment—it includes measurements, materials, construction details, and visual references.
Key Sections of a Tech Pack
- Front/back flat sketches
- Measurement specs by size (POMs)
- Fabric and trim references with color codes
- Stitching and construction notes
- Labeling and packaging instructions
We recommend using templates or hiring a freelance technical designer to prepare a detailed, editable file.
Step 3: Find the right clothing manufacturer
With your designs in hand, the next step is to find a partner who can bring them to life.
You’ll want to assess factories for capabilities, MOQs, pricing, and their experience with similar garments.
Factory Research Tips
- Use B2B platforms (Alibaba, Maker’s Row, Global Sources)
- Attend trade shows (MAGIC, Intertextile, Pure London)
- Ask for introductions through fashion networks
- Search regionally for advantages (China for fast fashion, Turkey for knits, etc.)
We often onboard new clients after they compare our women’s fashion expertise with samples from multiple suppliers.
Step 4: Send your tech pack and request a sample
Sampling is your design’s first real-world test.
Manufacturers use your tech pack to create a prototype, which you’ll review and revise until satisfied.
Sampling Timeline and Cost
- First sample: 7–20 days
- Revisions: 1–2 additional rounds
- Cost: $50–$200 per style depending on complexity
Be detailed in your sample feedback. Use images, videos, and written notes to communicate clearly.
Step 5: Test fit and functionality
Fit is everything in apparel.
Fit samples should be reviewed on a live model or mannequin to ensure size grading, comfort, and movement align with your design.
Fit Review Tips
- Evaluate key stress points (bust, hip, sleeve)
- Test closures (zippers, buttons)
- Sit, walk, and stretch in the sample
- Use tape or pins to mark changes
We advise clients to develop size M first, then proceed with grading after fit approval.
Step 6: Approve pre-production sample (PPS)
Once fit and fabric are confirmed, the manufacturer will send a final pre-production sample.
The PPS reflects the final garment that will be mass-produced. This is your chance to catch any last issues.
What to Check
- Stitching, labels, construction
- Print placement or color matching
- Packaging instructions
- All accessories (tags, buttons, hangers)
Sign off in writing with a PPS approval form.
Step 7: Begin bulk production
After sample approval, bulk production begins.
You’ll pay a deposit (often 30%) and production runs for 3–8 weeks depending on volume and complexity.
What Happens Next
- Fabric sourcing and cutting
- Stitching and assembly
- Quality control at various stages
- Packing and logistics preparation
At Xzapparel, we update clients weekly with production stage photos and real-time timeline tracking.
Step 8: Arrange quality control (QC)
Good QC prevents expensive returns and brand damage.
QC involves random inspections or third-party checks on finished goods to ensure they meet your standards.
QC Checklist
- Size tolerance
- Seam strength
- Color consistency
- Clean finishing (no loose threads)
- Hangtag and label accuracy
We offer both in-house and third-party QC options depending on brand needs.
Step 9: Organize shipping and logistics
Shipping is often an afterthought—but it impacts cost and timing.
You can ship via air, sea, or express depending on urgency, volume, and budget.
Shipping Tips
- Confirm Incoterms (FOB, EXW, DDP)
- Book freight ahead of time in peak seasons
- Track using cargo codes (B/L, airway bill)
- Calculate landed cost including duties
We help clients prepare customs docs and book freight when needed.
Step 10: Evaluate and plan next steps
Your first run sets the tone for your brand.
Post-production, collect sales and customer feedback, and analyze fit performance to refine your next round.
Evaluation Checklist
- Returns or complaints?
- Sizing consistency?
- Sell-through rate by SKU or size
- Margin and pricing feedback
Use this data to iterate future designs or restocks with improvements.
Conclusion
Getting your designs manufactured involves much more than choosing fabrics. It’s a full-cycle process from concept to delivery—and having the right partner makes all the difference.
At Xzapparel, we specialize in turning brand ideas into quality garments for global buyers.